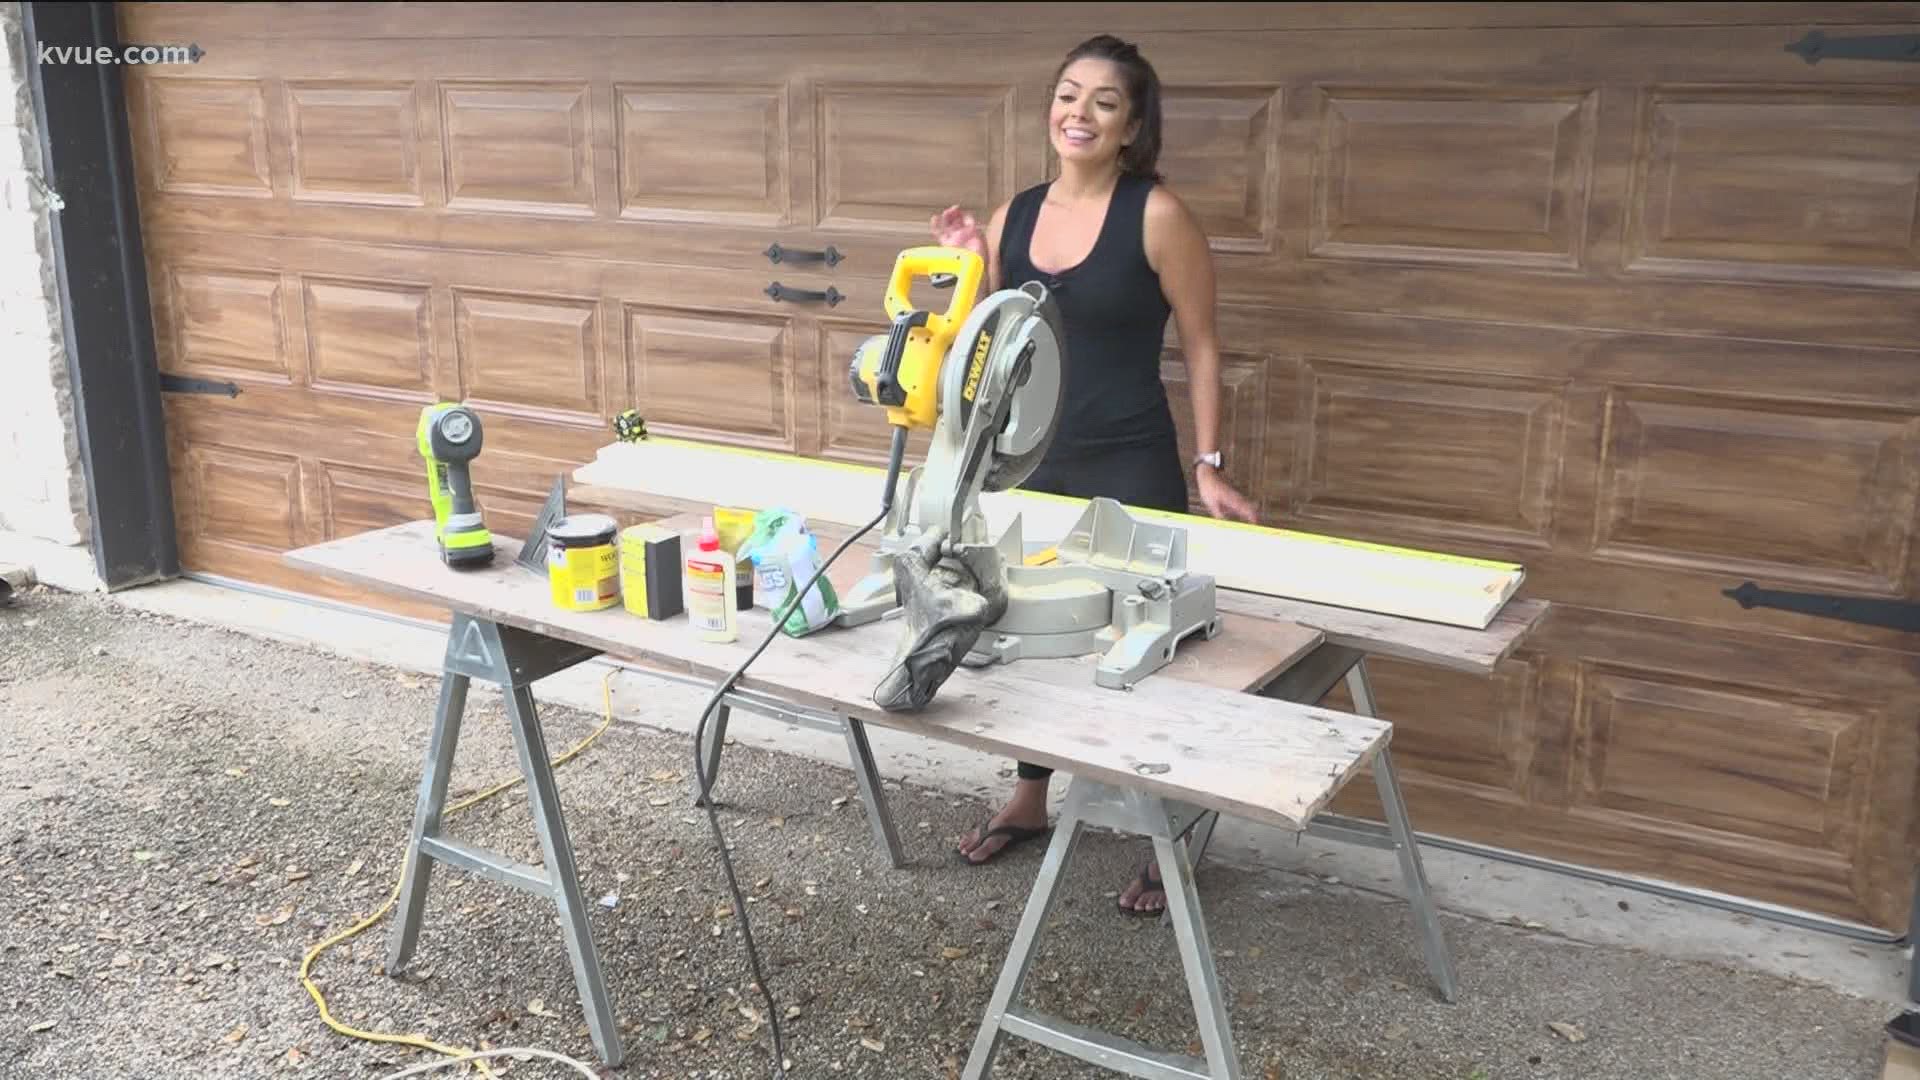
AUSTIN, Texas — Floating shelves are an easy, less-bulky alternative to upper cabinets when looking for storage. Their popularity also comes with a high price tag. In our home office renovation, we want to add several shelves, but don't want to pay the high price. The solution? Build floating shelves!
Another pro to building your own shelves is the opportunity to customize size and color.
Tools:
- 1" x 10" x 6" common board (or desired type of wood)
- 1" x 3" x 8" common board for trim
- Saw
- Measuring tape
- Pen or pencil
- Straight edge
- Wood glue
- Nails (and hammer or nail gun)
- Wood filler
- Sanding Block
- Wood Stain (in your color of choice)
- Cloth rags for paint
Steps:
1. Determine the desired size of the shelves. For this project, I went with three feet long and 10" wide. Take the 1" x 10" x 6" board and mark the three-foot line, make the cut. This will be the top and bottom of the shelf. Next, work on the trim. Cut two pieces long enough for the width and one piece long enough for the length. This part may be tricky, but where the pieces will meet, make a 45-degree cut.
2. Next, assemble! Set one wide board down, stack the leftover pieces of trim on top with wood glue. We do this to allow space for mounting hardware. Now, add more glue and the other wide board on top. Add the trim pieces with more wood glue to the sides and the front of your shelf. To secure, add nails with a nail gun or hammer. It should look like a box with one side open for the hardware.
3. Since wood is not perfect and neither are we, wood filler is used to fill in any gaps. Let that dry and sand to smooth.
4. Use the cloth rag to add a stain. Do as many coats as you want until you get the color you want. Let dry then mount.
Done!
MORE DIY PROJECTS:

