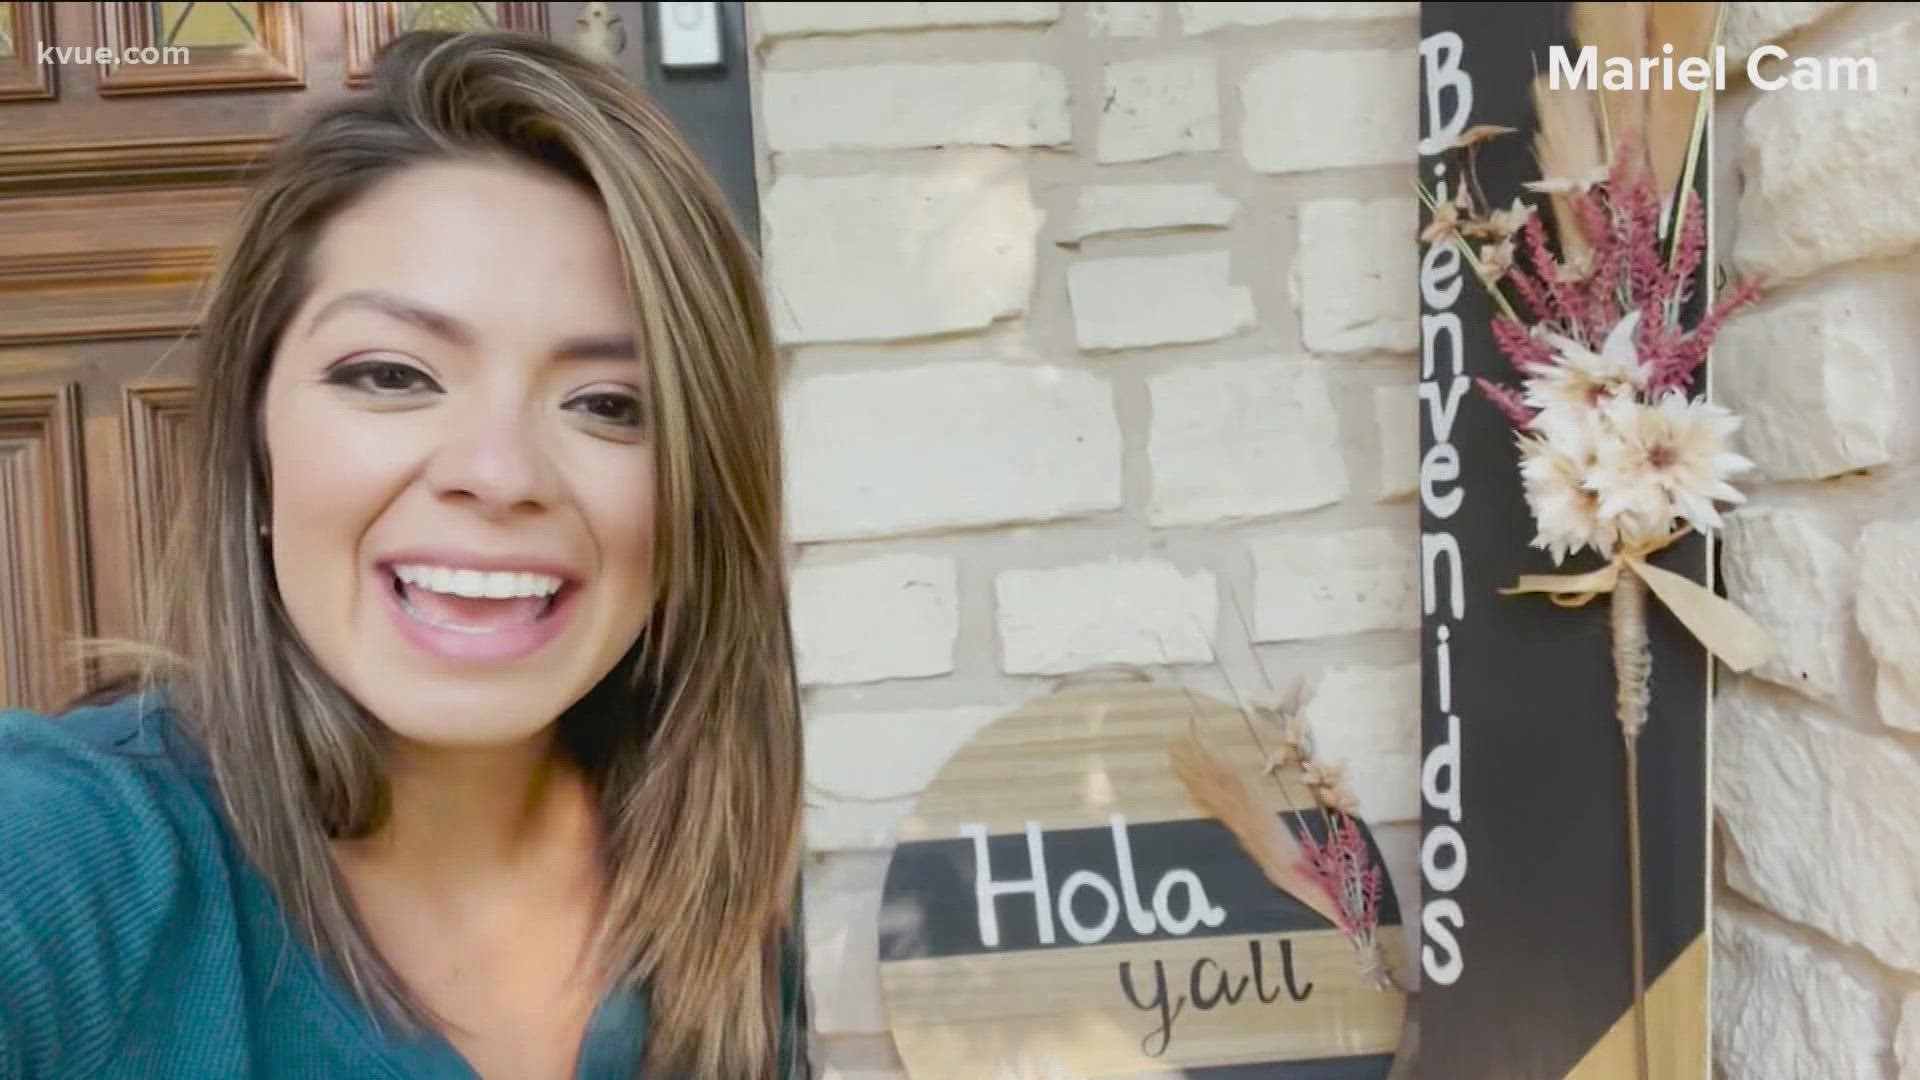
AUSTIN, Texas — All welcome signs are starting to look the same. With the holidays quickly approaching, you want to make sure your outdoor decor will impress, not give your guests déjà vu!
That's why I'm going to show you how to make your own welcome sign – and how to make it under budget.
Here is what you need:
- Wood in whatever shape and size you want
- Paint in the color of your choice
- Paintbrush
- Wood stain in the color of your choice
- Clean rags
- Gloves
- Sharpies for wood in the color of your choice
- Hot glue gun and glue
- Optional: Stencil for letters
Directions:
- Time to get creative! I went for a minimalist look – are you surprised? Tape off a design and add the first coat of paint. I went with a stain. Then let it dry.
- Tape and add the second layer of paint. I chose black paint. Tip: to speed up the drying process, use a blow dryer!
- Add the "welcome" saying of your choice with the sharpie. Be sure to use colors that have a sharp contrast.
- With the hot glue gun, add florals, glitter, bows and whatever else you want!
Happy D-I-Y-ing!
MORE MADE BY MARIEL SEGMENTS:

